We have implemented the “Daily Expense Ledger”. You can now create and track deposits and expenses for your Clients/Individuals. Admins can activate this form by Clicking the “Edit Agency” tab and selecting Show/Hide forms
Access The “Daily Expense Ledger” Forms
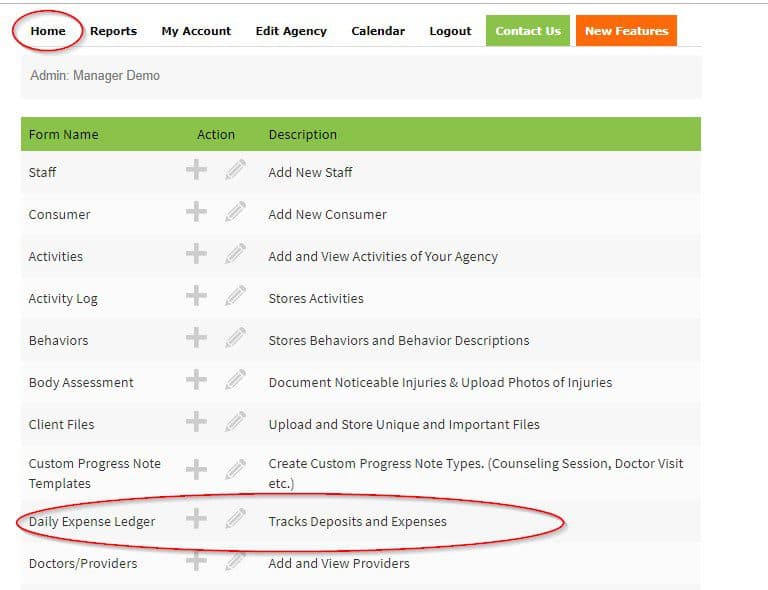
Click the “Home” tab at the top menu
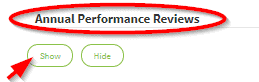
Scroll down and the “Daily Expense Ledger” forms will be displayed under the forms list
View & Add Deposits & Expenses
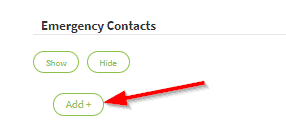
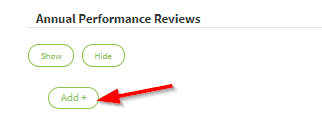
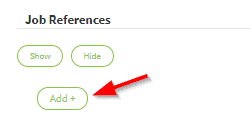
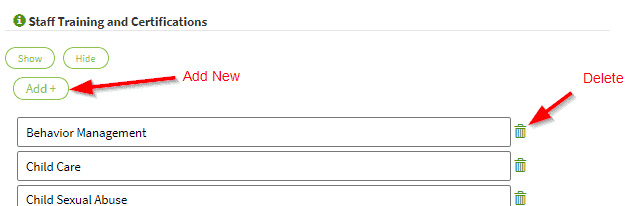
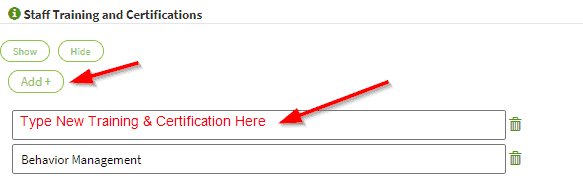
Go to the “Daily Expense Ledger” form and click the “+” Icon next to the form

The Daily Expense Ledger will be displayed
In the Drop-Down menu choose the name of the Client/Individual that you want to document the Deposit or Expense for

Once you choose the name of the client or individual, then you will be able to document any deposits and expenses and any relevant information required.
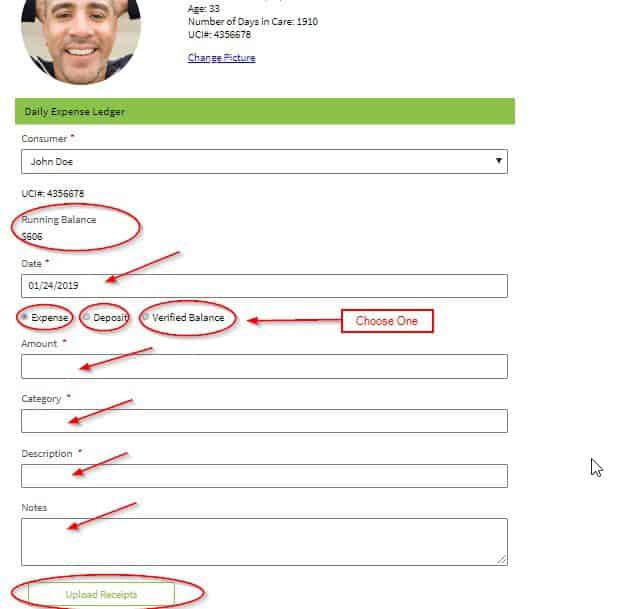
The running balance will be displayed at the top
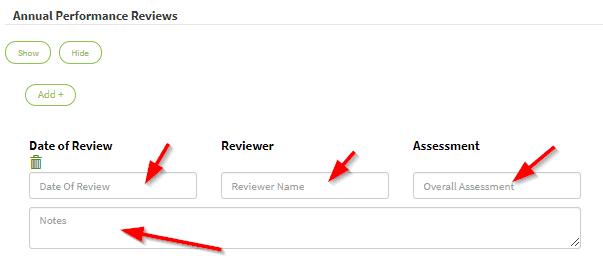
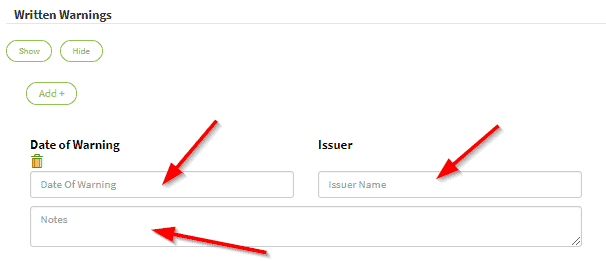
Enter the Date of the deposit or expense
Check the radio button if the transaction is a deposit, expense or verified balance. You can only choose one type of the transaction
Enter Amount
Enter the Category i.e. Starting balance, Deposit, Closing, Recreation, Medical, Personal etc. (you can choose from the drop-down menu or you can type a new category if not listed on the drop down)
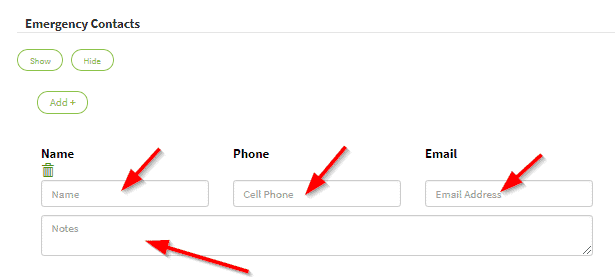
Enter the Description of the transaction
Enter Notes
Click the “Upload Receipt” Button to attach any receipts associated with the transaction
Click “Submit Form” button at the bottom to document the information
Edit Activities of Your Agency
Click the “Home” tab at the top menu
Next to the “Daily Expense Ledger” click the “Pencil” icon

The Daily Expense Ledger Edit Screen will be displayed
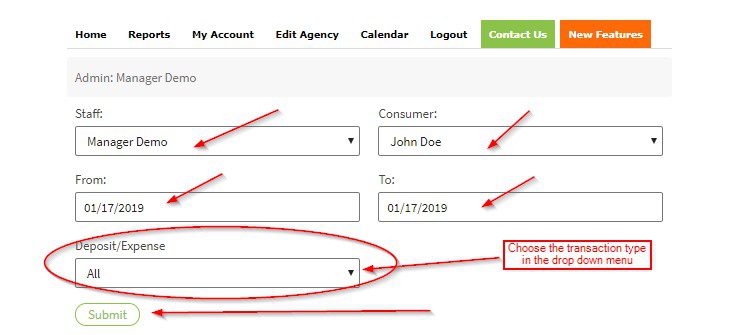
Choose the Staff Name from the drop down
Choose the name of the Client/Individual from the drop down
Choose the date(s) of the transaction(s) you wan to edit
Choose the transaction type you want to edit from the drop-down menu i.e. All, Deposit or Expense
Click “Submit Form” button at the bottom to display transaction records you want to edit
Transaction records you want to edit will be displayed at the bottom in the Daily Expense Ledger section
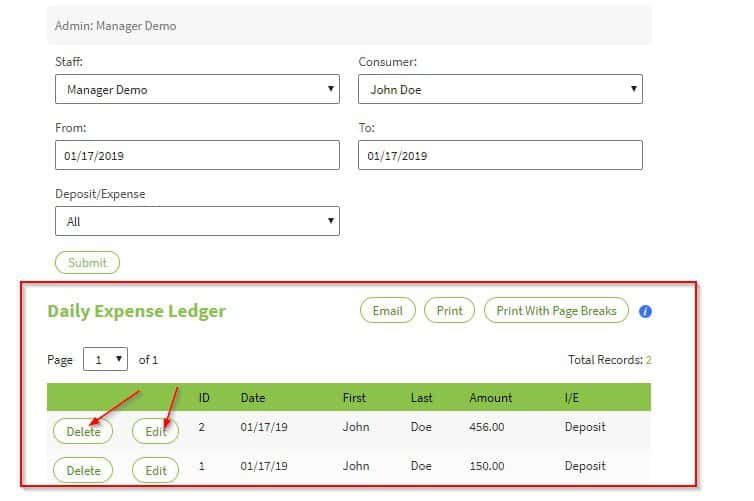
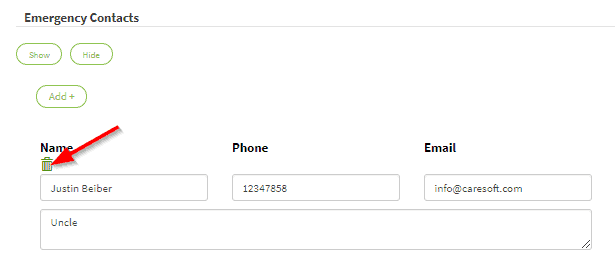
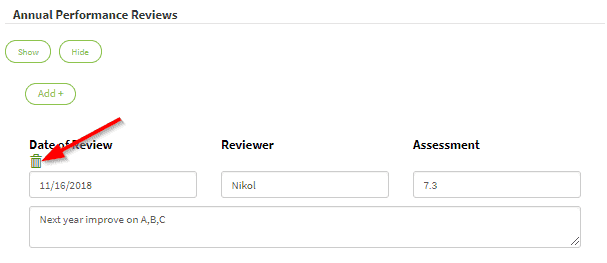
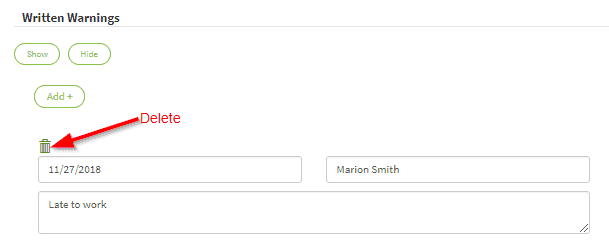
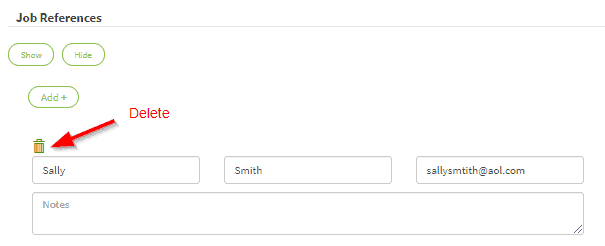
You can delete the record by clicking “Delete” button. If you click “Delete” button” the record will be deleted, and the remaining balance will be adjusted to reflect the change
You can edit the record by clicking “Edit” button. If you click “Edit” button, the original Daily Expense Ledger screen with the original transaction record will be displayed and you can edit any information needed
If there was a receipt attached, and you want to delete it, check the box, next to the file name

Once you made all the changes “Submit” button to apply changes.
View “Daily Expense Ledger” Report
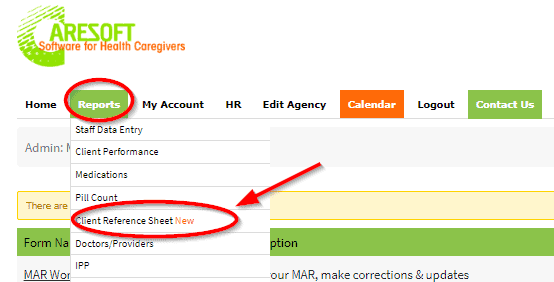
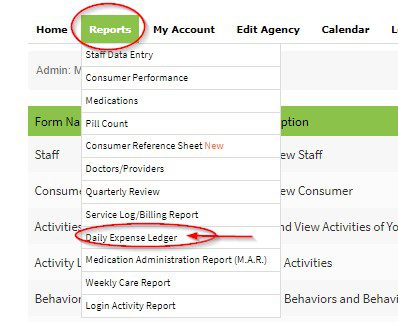
Go to the “Reports” tab at the top menu
Click “Daily Expense Ledger” link
In the drop-down, choose the name of the Client/Individual that you want to pull a report for
Choose the month of the report
Choose the category of the transaction that you want to view the report for i.e. All, Expenses/Deposits or Money Count
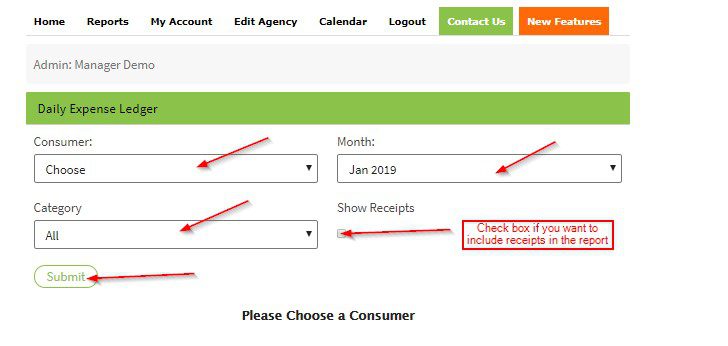
Click “Submit” button at the bottom
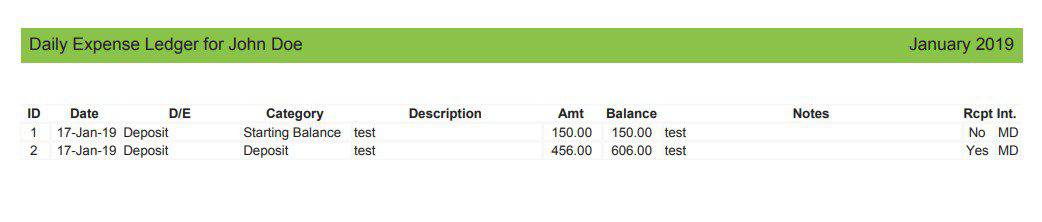
The report will be displayed (See sample report below)
Release Date: 01/24/2019