We have implemented the “Add Doctor/Provider Visit To The Calendar” feature and is now available for use in your agency. You can now add Doctors/Provider visits to the calendar for your Clients/Individuals.
Access “Add Doctor Visit To The Calendar” feature
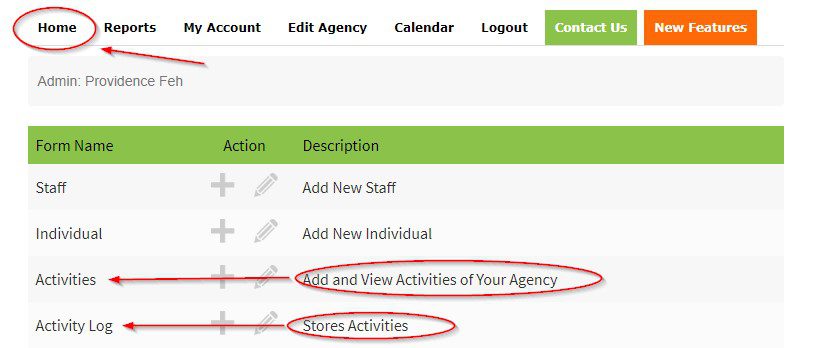
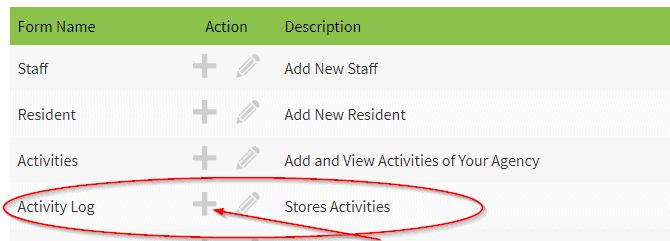
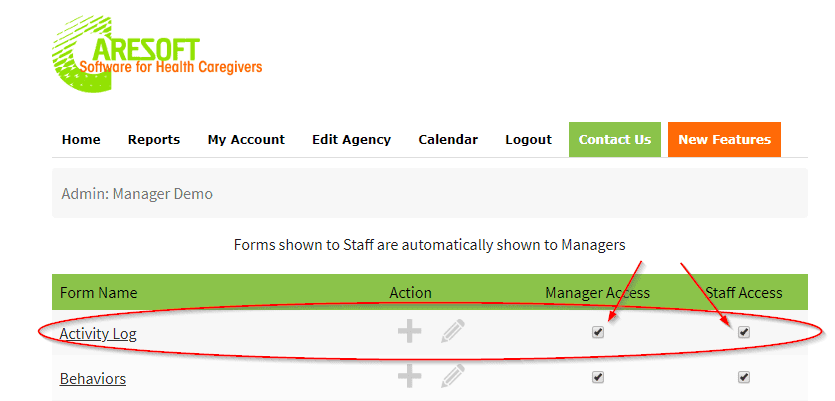
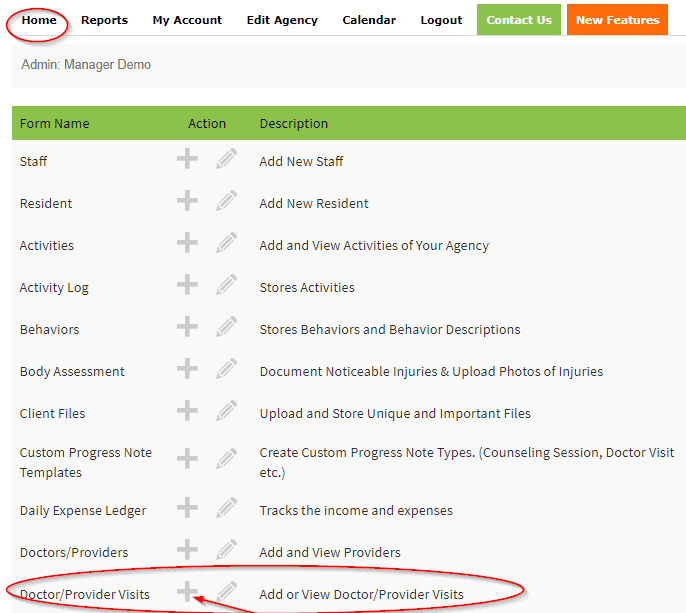
Click the “Home” tab at the top menu
The “Doctor/Provider Visit” form will be displayed under the forms list
View & Add “Doctor/Provider Visits To The Calendar”
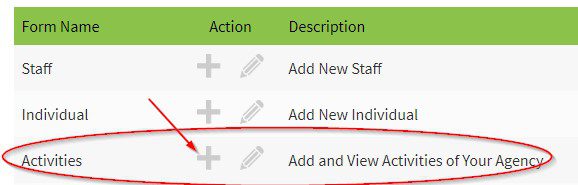
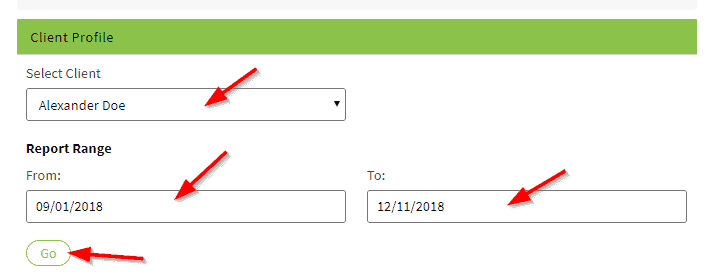
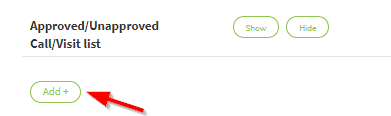
Scroll down to the “Doctor/Provider Visits” form and click the “+” Icon next to the Doctor/Provider Visits form, then choose the Client/Individual’s name

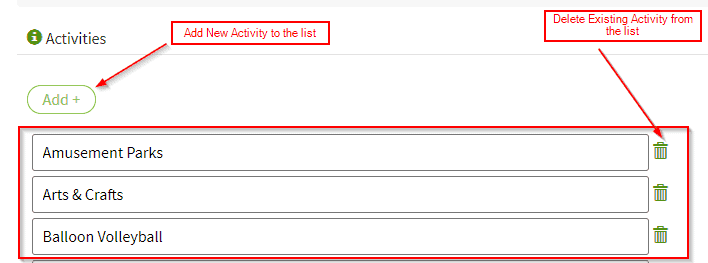
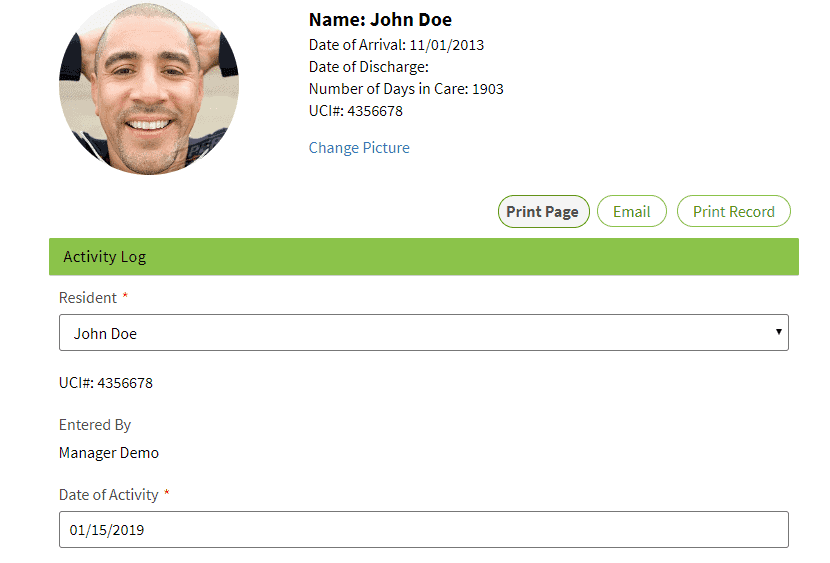
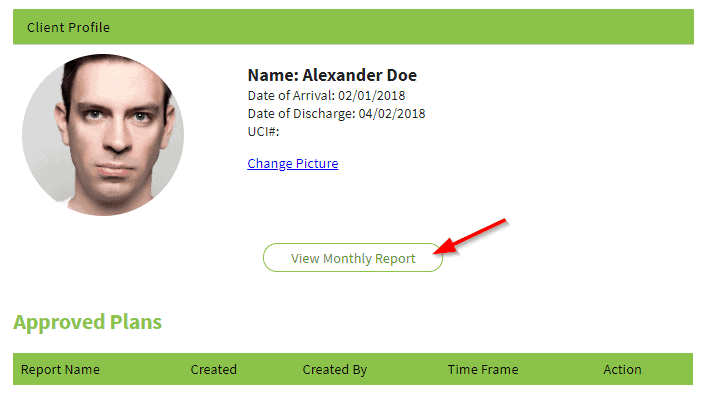
The “Doctor/Provider Visits” page will be displayed for you to document Doctor/Provider visits and additional information needed
Check “Yes” in the section below, if the Client/Individual saw the Doctor/Provider that day
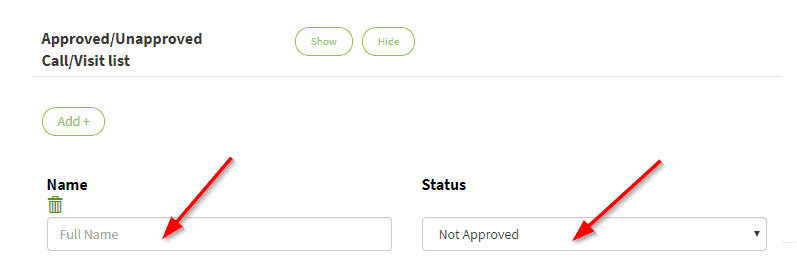
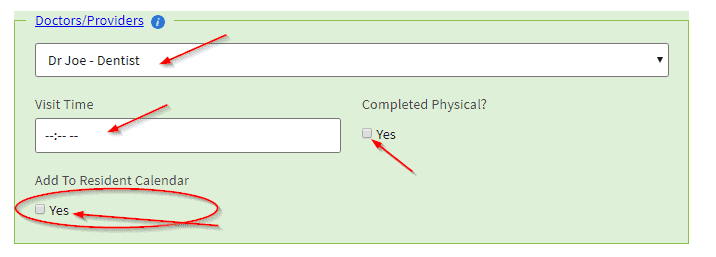
The “Doctor/Providers” section
Choose the Doctor/Provider name in the drop down
Type visit time in the field provided
Check “Yes” box if the physical was completed
Check “Yes” box if you want to add the Doctor/Provider visit to the client/individual’s calendar
Click the “Submit Form” button at the bottom of the page to submit Doctor/Provider visit information
The visit will be also added to the client/individual’s calendar
Click “Submit Form” button at the bottom to apply changes you made.
Edit “Doctor/Provider Visits To The Calendar
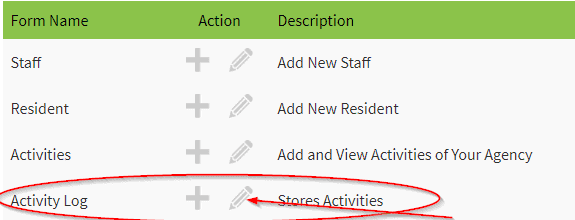
Click the “Home” tab at the top menu
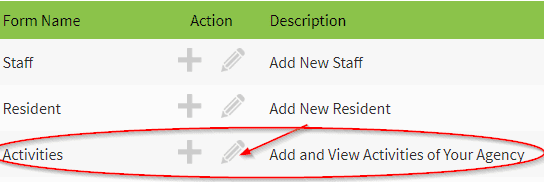
Next to the “Doctor/Provider Visits” click the “Pencil” icon

The “Doctor/Provider Visits” Edit page will be displayed for you to edit Doctor/Provider visits and additional information needed
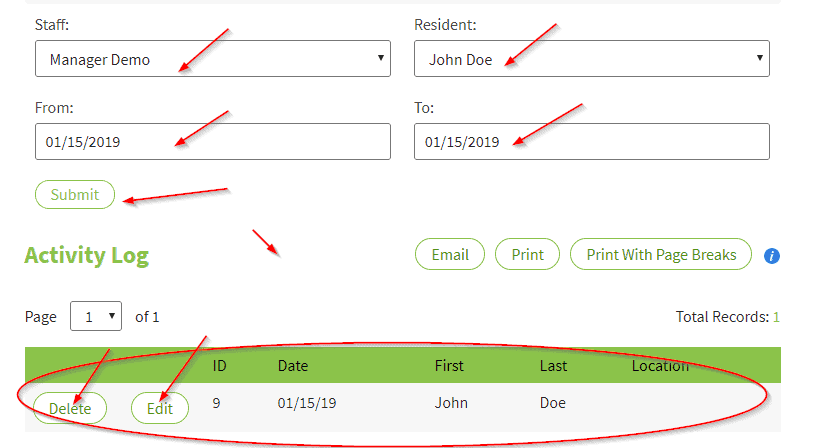
Choose the name of the staff, client/individual and the date of the visit
Click the “Submit” button
The Doctor/Provider visit records will be displayed at the bottom
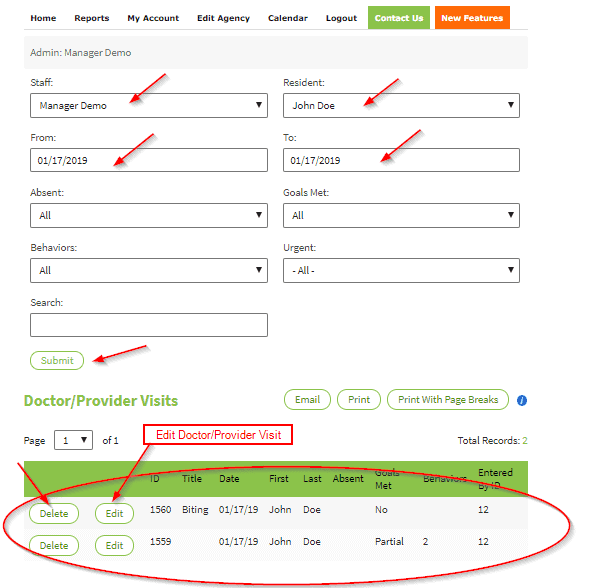
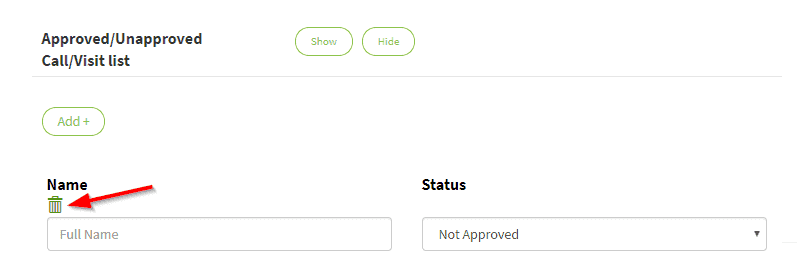
Click “Delete” button to delete the record
Click “Edit” button to edit the Doctor/Provider visit
Doctor/Provider visit page will be displayed for you to edit the info
Release Date:01/09/2019